Using the Workflow Editor in LiveCode Create
The Workflow Editor in LiveCode Create allows you to visually define app logic using Actions. By dragging and connecting Action Blocks, you can create workflows that respond to user interactions, trigger specific behaviors, and even mix no-code workflows with custom script.
This guide provides an in-depth look at how to use the Workflow Editor effectively, including its features, controls, and advanced options.
What is the Workflow Editor?
The Workflow Editor is a drag-and-drop interface that allows you to build app logic without writing code. It provides:
- Visual Actions: Ready-made Action Blocks you can drag into place.
- Clear Workflow Logic: Connect blocks to create step-by-step workflows.
- Script View: View and customize the LiveCode script generated by your actions.
- Flexibility: Mix pre-built Actions with custom script for unlimited control.
Accessing the Workflow Editor
To open the Workflow Editor:
- Select a Widget by clicking on it in the Canvas Area or Project Browser.
- Right click on it to open its dropdown menu and select Edit Actions.
- Click the New Workflow button in the top right of the Actions page
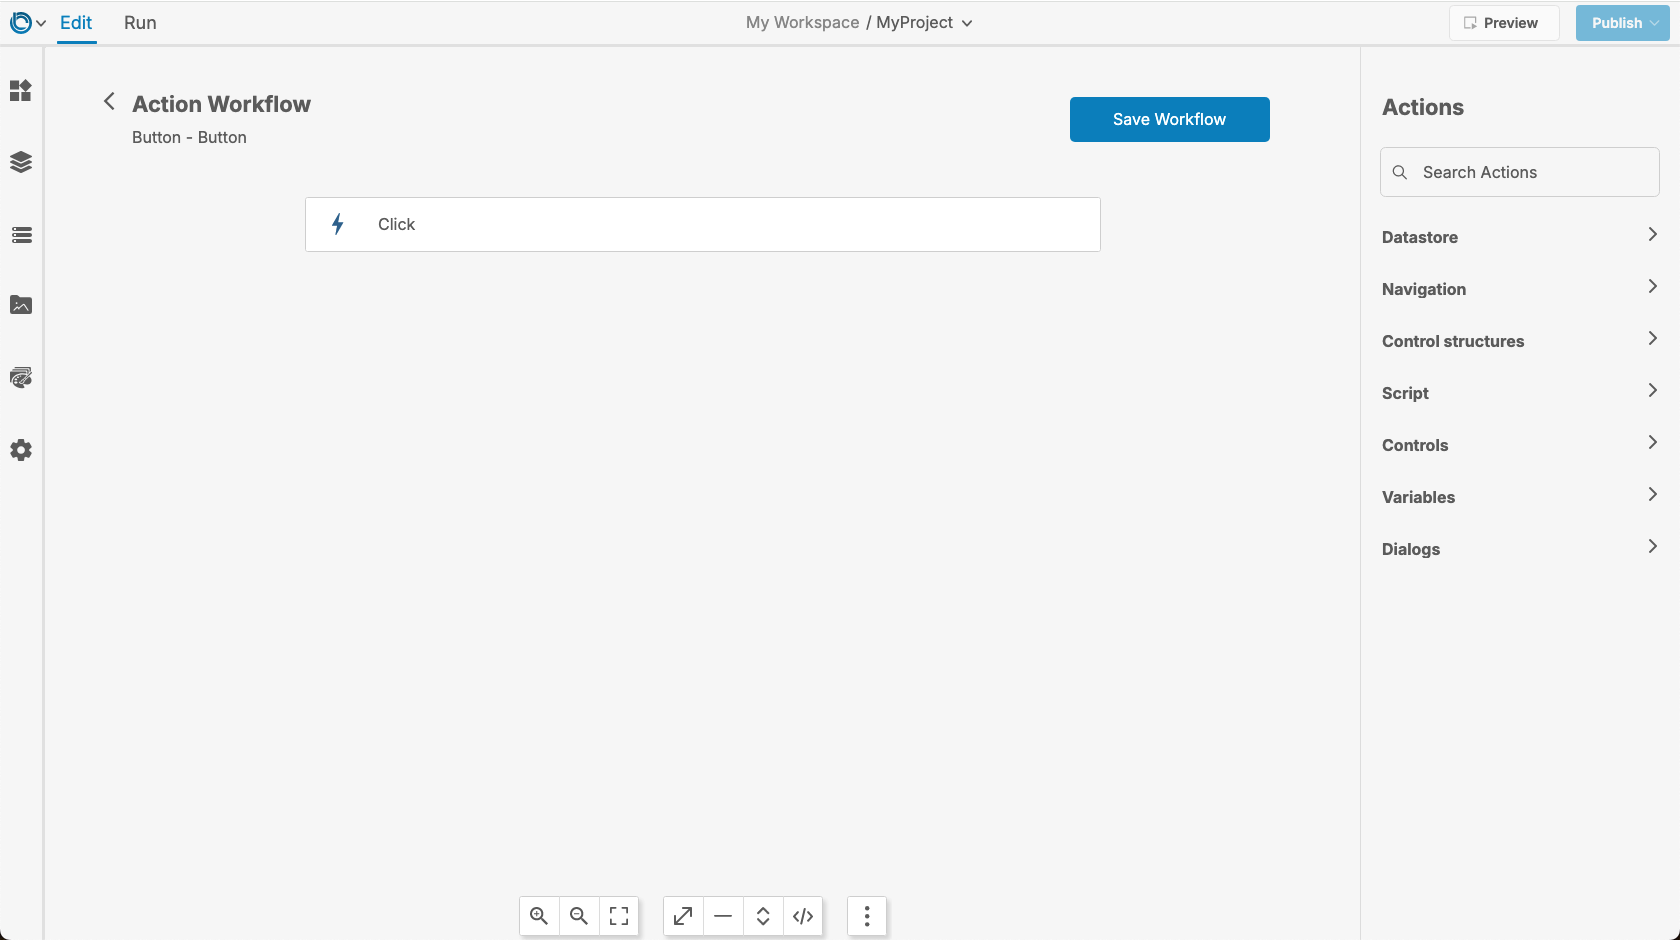
The Workflow Editor will open, showing a blank canvas ready for you to create your workflow.
Components of the Workflow Editor
1. Workflow Canvas
The Workflow Canvas is your workspace where you drag and connect Action Blocks.
- Start Point: Every workflow begins with a Trigger.
- Action Blocks: Represent tasks that your workflow performs.
- Connectors: Define the flow by connecting blocks.
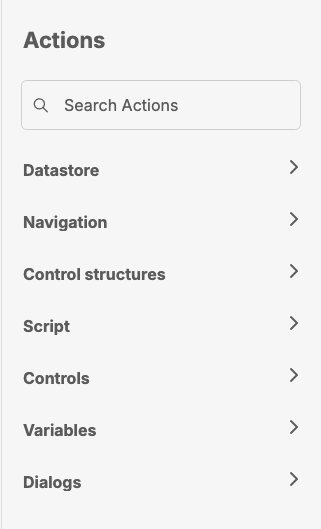
2. Action Library
On the right-hand side of the Workflow Editor, you’ll find the Action Library. This is where you drag Action Blocks from.
Common actions include:
- Navigate to Layout
- Show/Hide Widget
- Create/Update Records
- Send Notifications
3. Controls and Script View
At the top of an Action Block, you’ll find key controls:
- Expand/Minimize Blocks: Click the arrows on Action Blocks to expand or minimize them.
- Toggle Script View: Switch between the visual workflow and the generated script.
- Unlock Action Blocks: In Script View, click the Padlock Icon to convert a ready-made action into a Raw LiveCode Script Block.
![]()
4. Wrokflow Toolbar
At the bottom of the Workflow Editor you'll find a toolbar with the following options (listed from left to right):
- Zoom Adjustment Buttons: 3 buttons that zoom in, zoom out, or toggle fullscreen mode for the workflow.
- Workflow Expand/Minimize Toggle Buttons: 2 buttons that toggle whether all blocks in the workflow are expanded or minimized.
- Workflow Toggle Script Toggle Buttons: 2 buttons that toggle whether all blocks are in script view or not.
- Toolbar Placement Toggle: A button that toggles whether the toolbar is placed on the bottom or left of the workflow editor.

For a more in-depth look at specific Actions, as well as how to customize them to more specifically match your needs, check out the Actions Overview
Creating a Workflow
Follow these steps to build a workflow in the Workflow Editor:
Step 1: Choose a Trigger
A workflow starts with a Trigger—an event that causes the workflow to run.
The default trigger is "click", which triggers when a user clicks on the selected widget.
The trigger is automatically defined when you open the Workflow Editor for an object.
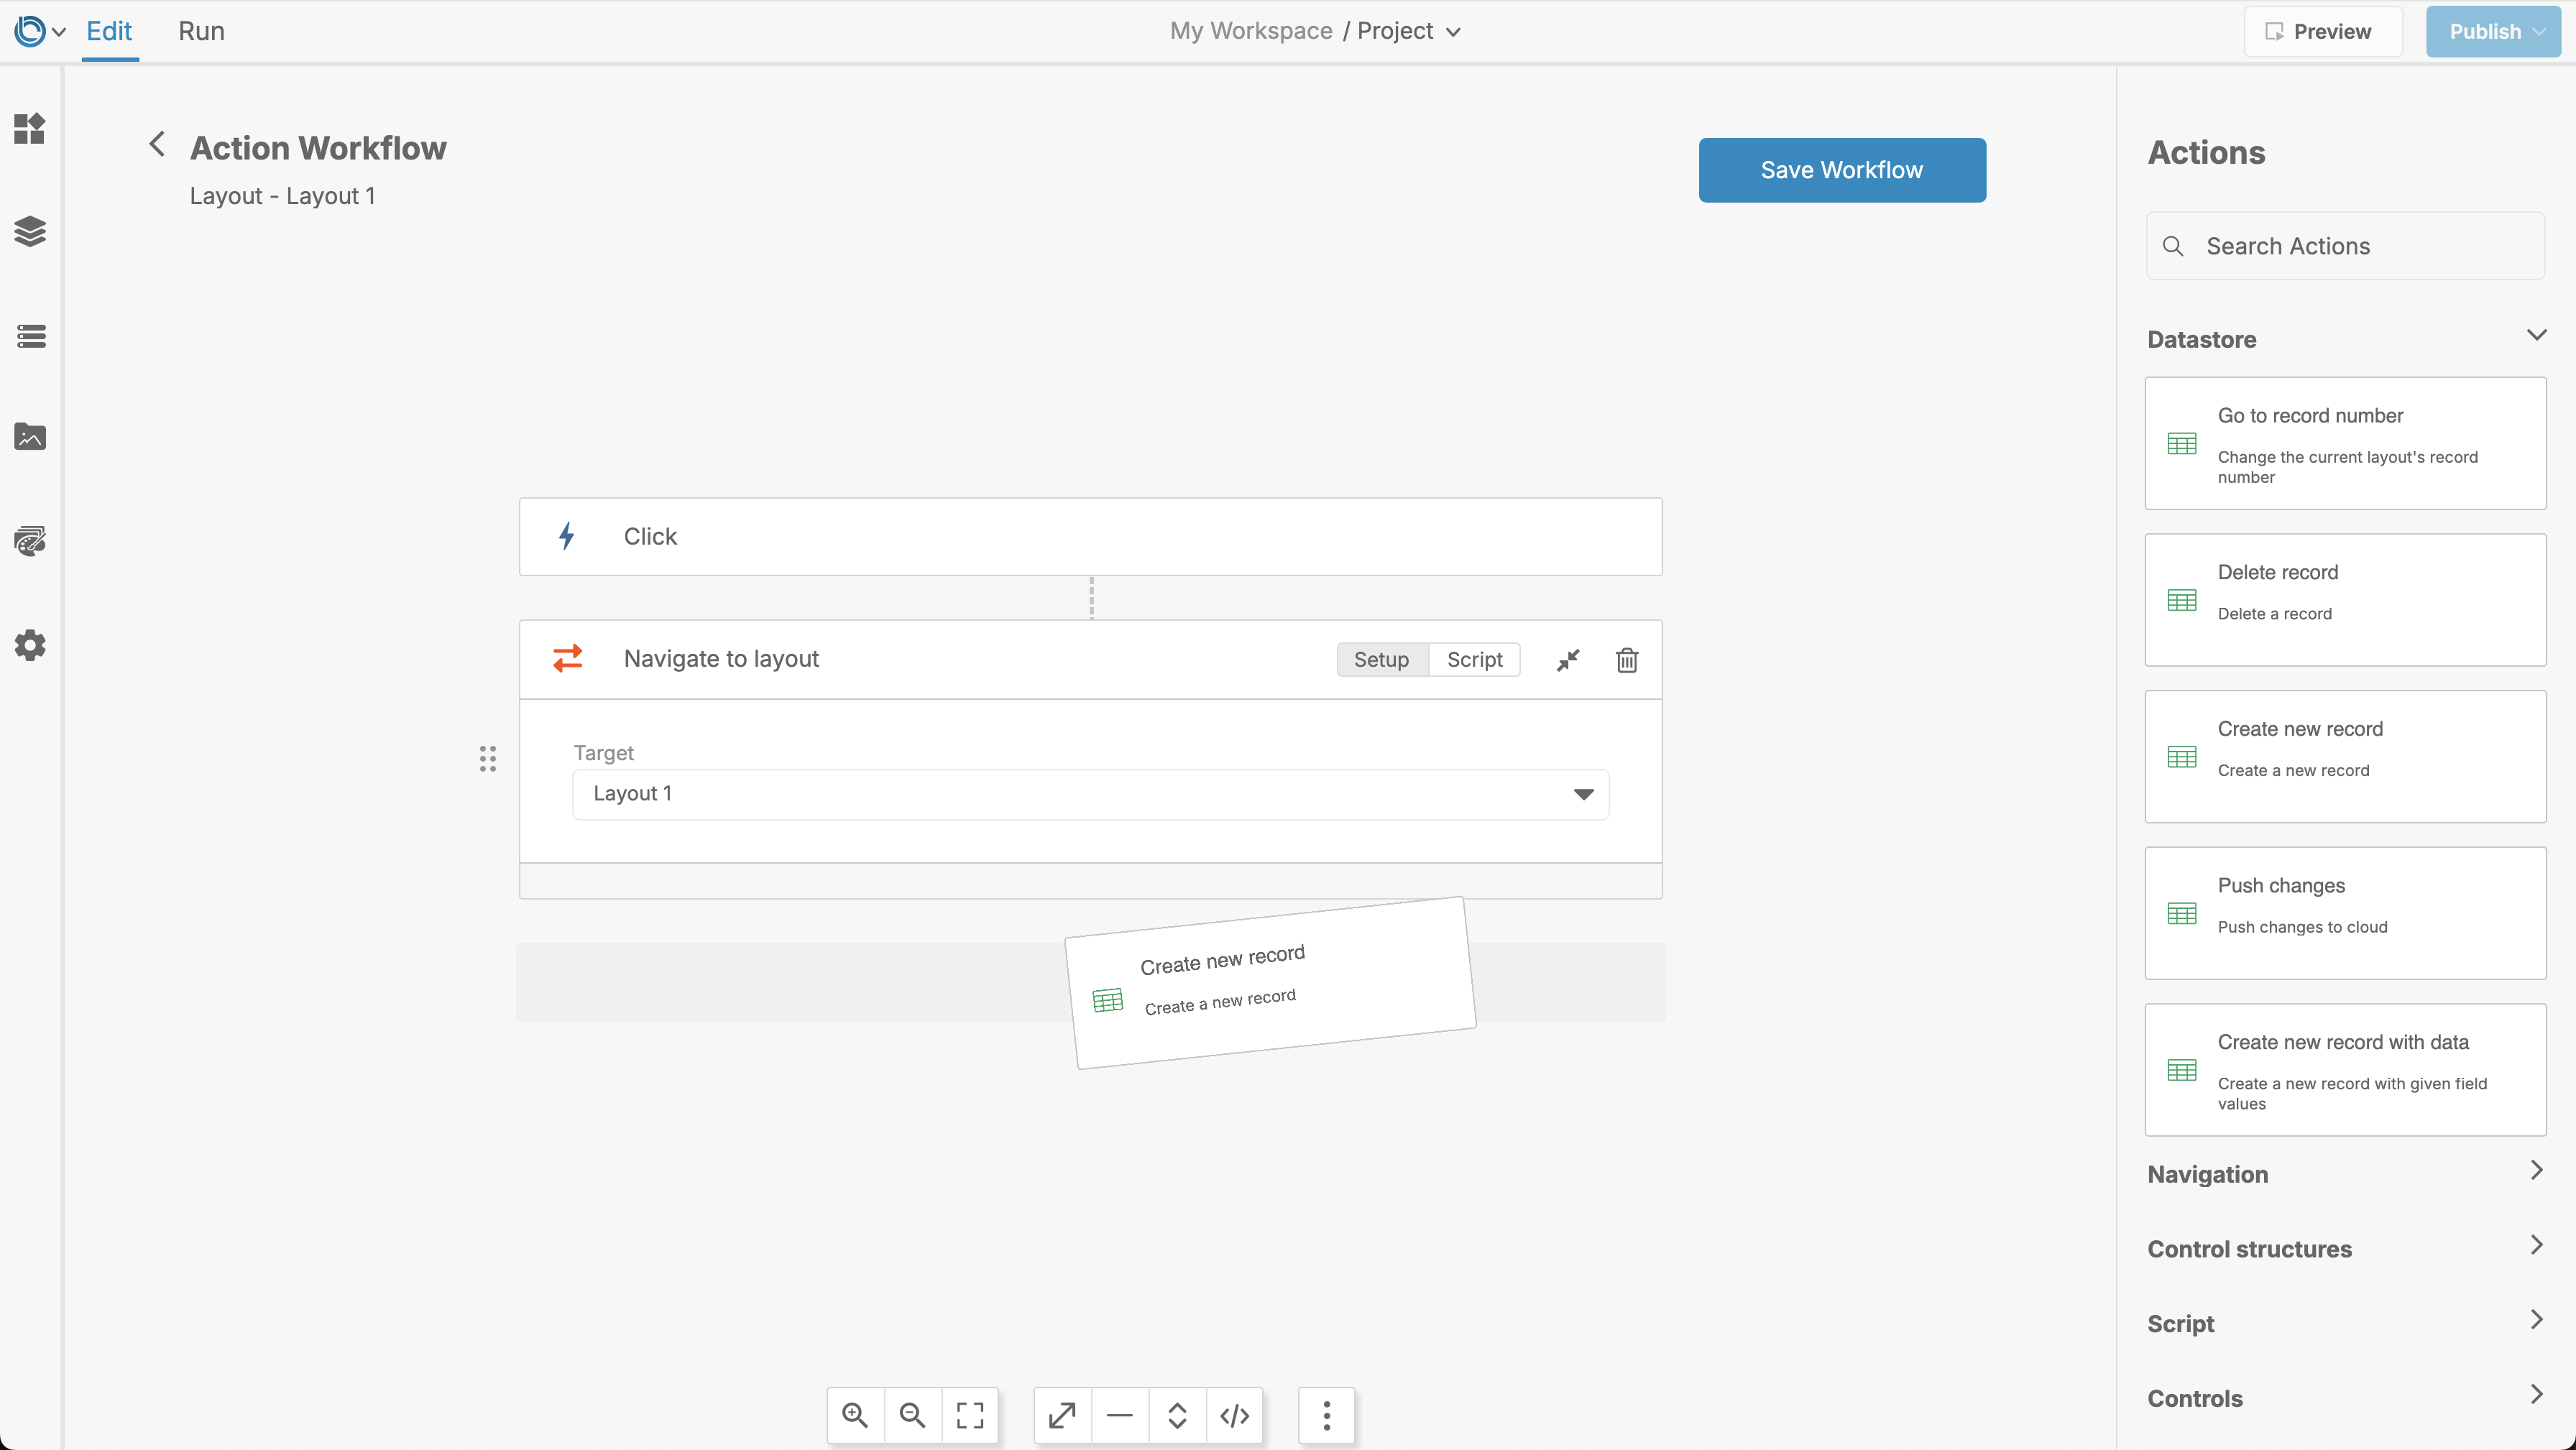
Step 2: Drag Action Blocks onto the Canvas
- Open the Action Library: Actions are available on the right-hand side.
- Drag and Drop: Click and drag an Action Block onto the canvas.
- Connect Actions: Use connectors to define the flow between Action Blocks.
Step 3: Reorder Actions
You can reorder Action Blocks by dragging them up or down in the Workflow Canvas.
- Hover over an Action Block to reveal the drag handle.
- Click, drag, and drop the block to a new position in the sequence.
This ensures tasks are performed in the correct order.
Step 4: Expand or Minimize Blocks
Action Blocks can be expanded to show their details or minimized for clarity.
- Expand: Click the arrow icon on the Action Block to show its parameters.
- Minimize: Click the arrow again to collapse the block.
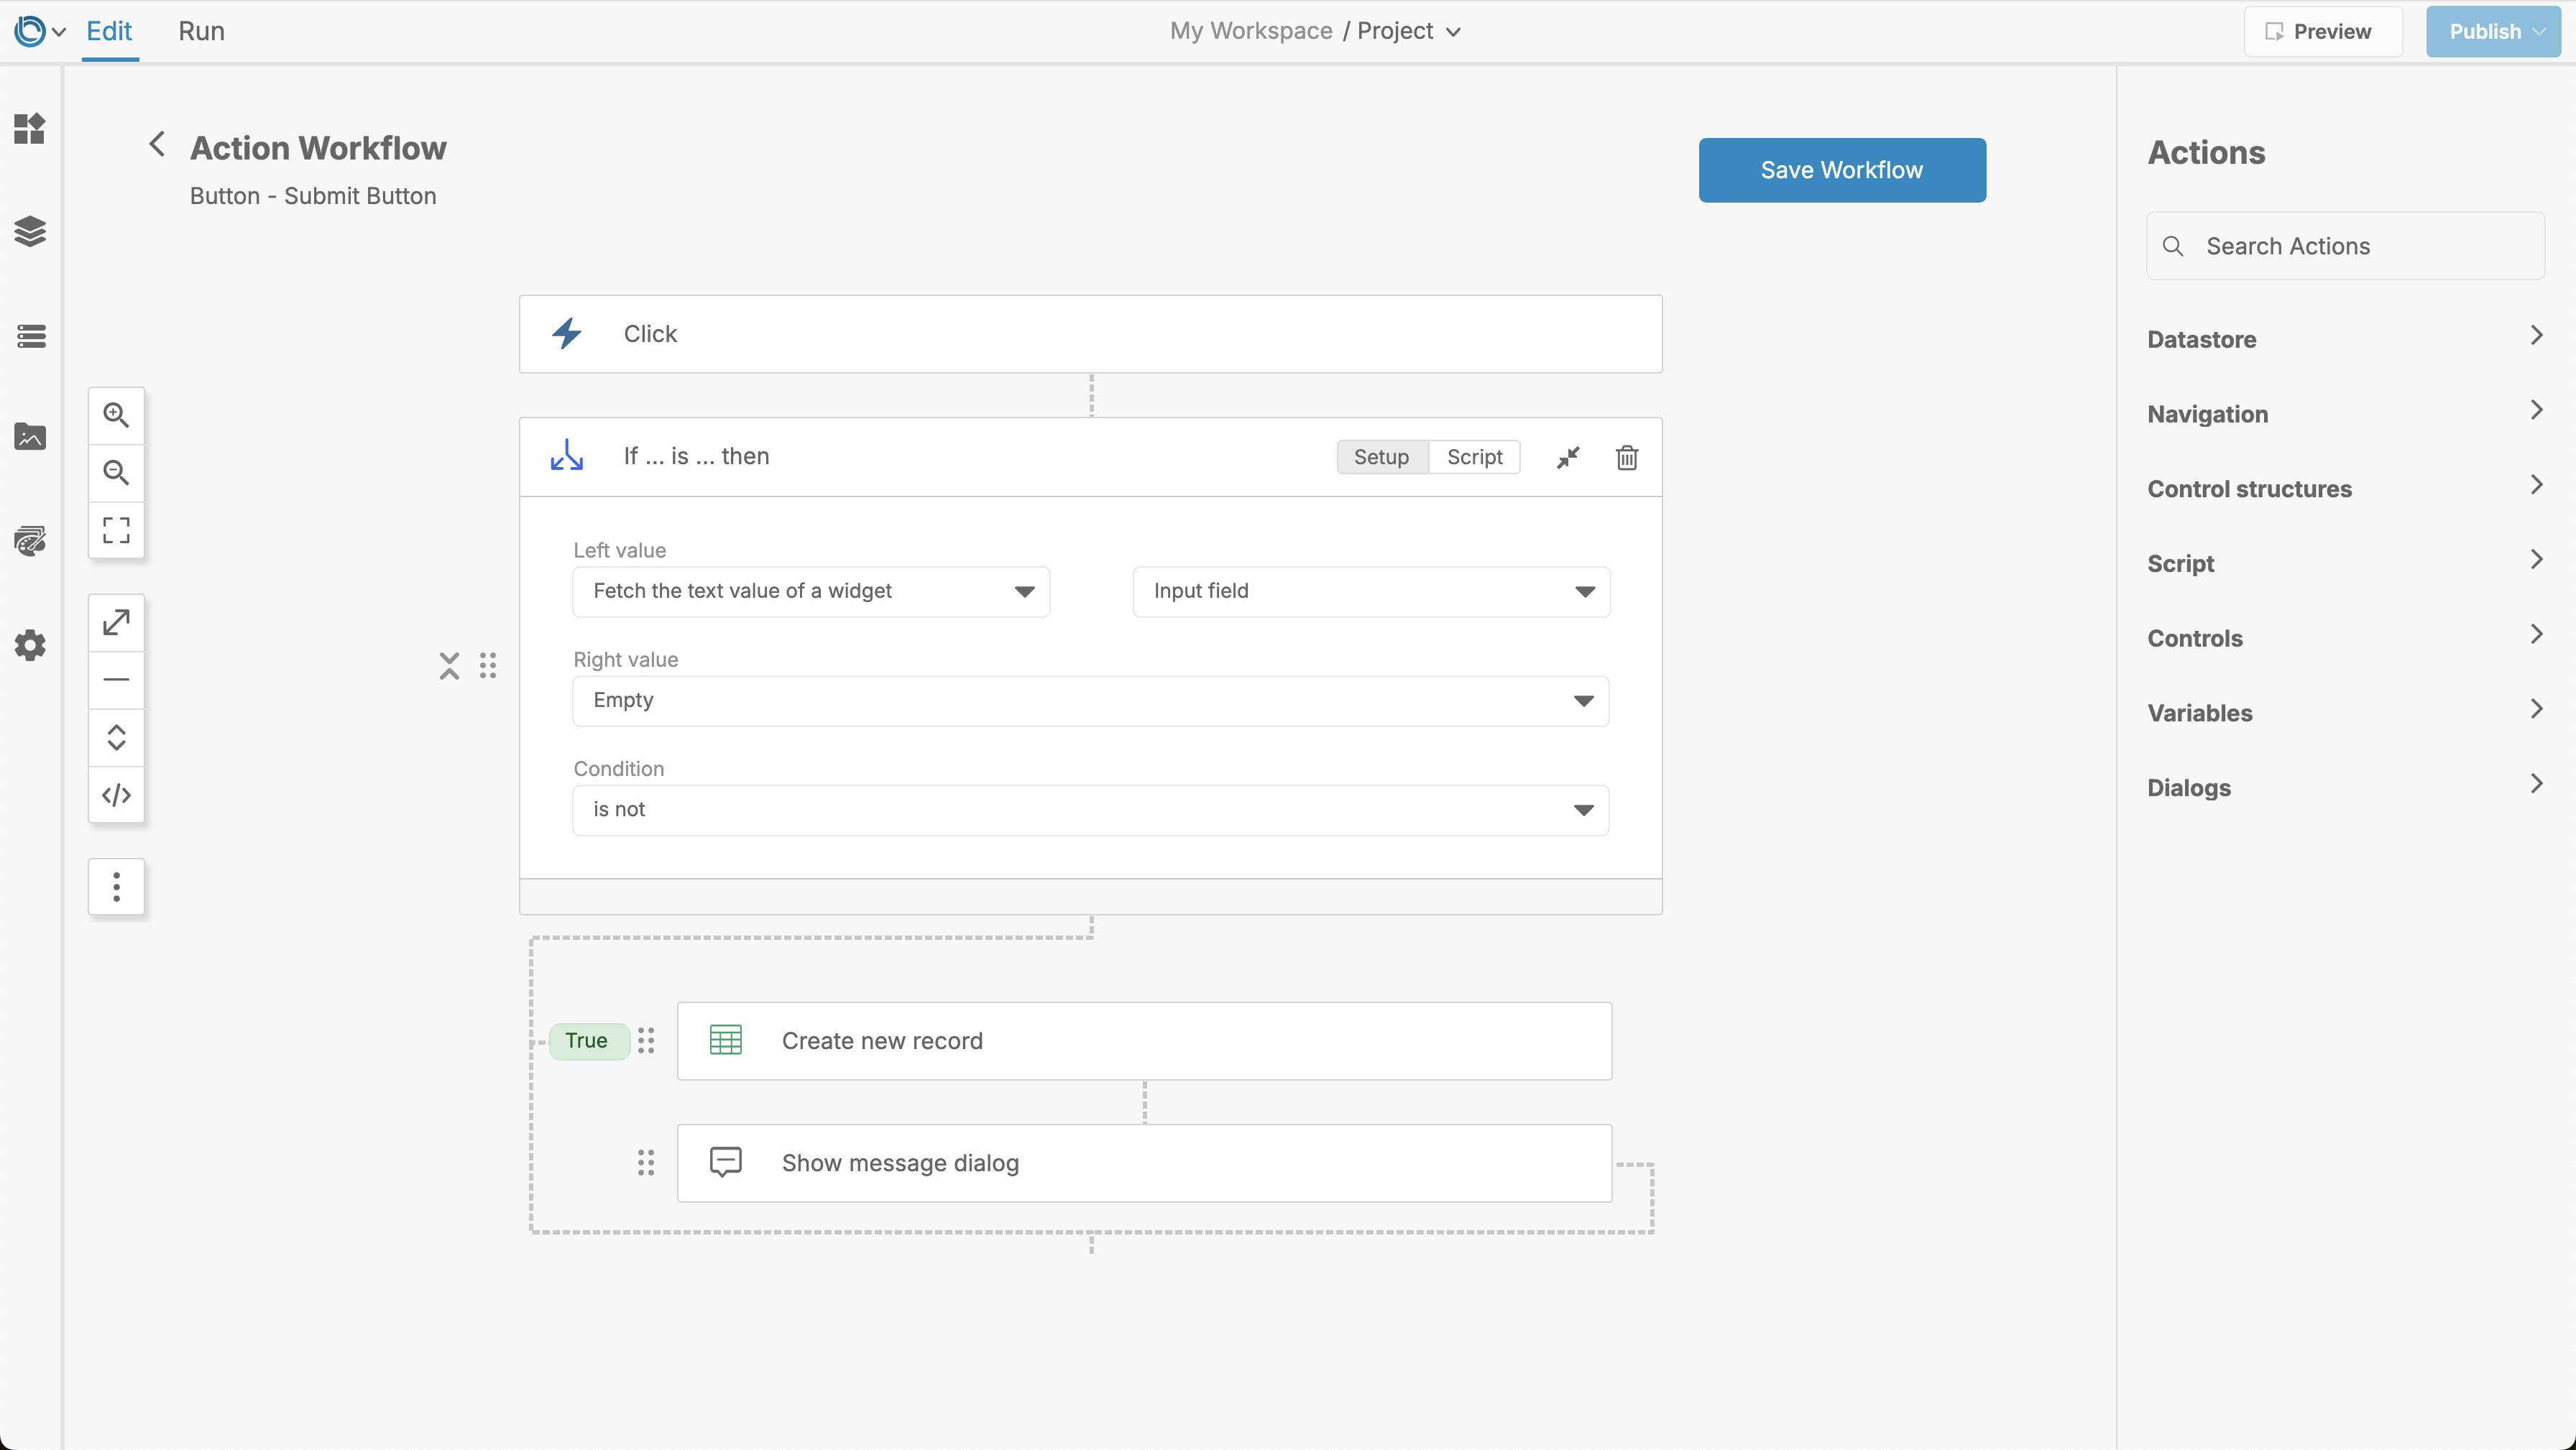
Step 5: Use If/Else Logic
The Workflow Editor supports conditional logic through If/Else Actions.
- Drag the If Action Block from the Action Library onto the canvas.
- Set the condition (e.g.,
if a field is empty). - Connect Actions to the If/Else branches.
Testing Your Workflow
- Save the Workflow: Click Save to ensure your changes are preserved.
- Switch to Run Mode: Toggle to Run Mode in the IDE.
- Test Triggers and Actions: Interact with the app to verify the workflow.
For further learning: